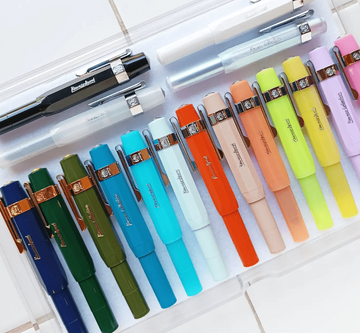
The beauty and pleasure of writing with a pen is not just a saying... It is a fact.
And when you start in the world of calligraphy and pens... You are lost.
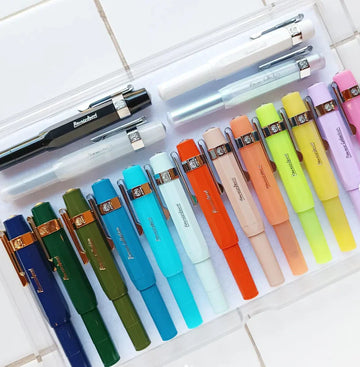
You enter a world of collecting, both pens and inks. You want all the colors, with glitter, without, mattes, two-tone, ALL. You load each matching pen with its beautiful ink and write with it as if you were writing your own "Harry Potter".
So if you really love pens, here is a guide to help you maintain your pen and keep it for many years, writing as smoothly and well as the first day .

Step 1: Prepare the necessary materials
Before you begin, have the following materials on hand:
- Your fountain pen.
- Ink compatible with your pen (in cartridges/converter or bottle).
- A small amount of warm water.
- A soft, absorbent cloth (regular kitchen paper will do).
- Test paper.

Step 2: Initial charge of the pen
If this is your first time using the pen or you haven't used it for a long time, it's important to do an initial fill to make sure the ink flows well and the nib hasn't become clogged with dried ink.
- Unscrew the top of the pen, where the nib is located.
- Remove any empty cartridges or converters that may be attached.
- Rinse the nib with warm water and a little mild soap to remove any residue or dried ink. Make sure to rinse it only with water afterwards.
- Dry gently with a clean, soft cloth.

Step 3: Charging the pen
There are two common methods for filling your pen with ink: using cartridges or dipping the nib directly into the ink bottle. Here's how to do it:
Loading with cartridges
- Unscrew the top of the pen and remove any converters present.
- Insert the new ink cartridge into the nib housing, making sure it is fully seated.
- Screw the top of the pen back on.
- Let the pen sit for a few minutes to allow the ink to flow into the nib before you begin writing.
Load with ink in bottle
- Unscrew the top of the pen and remove any converters present.
- Dip the nib into the ink bottle until it is submerged about one centimeter.
- Gently turn the converter knob, if applicable, to suck the ink into the converter.
- Remove the nib from the bottle and blot any excess ink with the absorbent paper.
- Screw the top of the pen back on.
- Allow the ink to flow into the nib for a few minutes before you start writing. You can do this by gently pressing it onto a piece of paper or even a kitchen napkin.

Step 4: Regular pen cleaning
Regularly cleaning your pen will ensure that it always works optimally and prevent ink flow blockages. Here are the steps to do so:
- Disassemble the pen by separating the nib from the top.
- Rinse the nib and converter (if applicable) with warm water to remove any excess ink.
- If you notice any persistent residue, you can use a fountain pen cleaning solution following the manufacturer's instructions.
- Gently dry it with a clean, soft cloth before reassembling the pen.

Step 5: Try and enjoy
Before you start writing, test it on a piece of test paper to make sure the ink flows properly. Keep the nib pressed gently. If you find any problems, such as skipping or poor ink flow, repeat the cleaning or loading process. There may be a small air pocket left behind.
And now enjoy and write like a 90s novelist. Try not to leave the pen uncapped, and keep it horizontally to prevent the ink from drying out.


